1 ViewController 만들고 Storyboard연결하기
- 나만의 커스텀 View Controller를 처음부터 만들어보겠다.
- .swift파일을 만들고 UIViewController를 상속받아 커스텀 클래스를 하나 만든다.

- Main.storyboard와 새로 만든 ViewController를 연결한다.

2 Table View
- 앱에서 여러 아이템을 리스트로 보여주는데 사용한다.

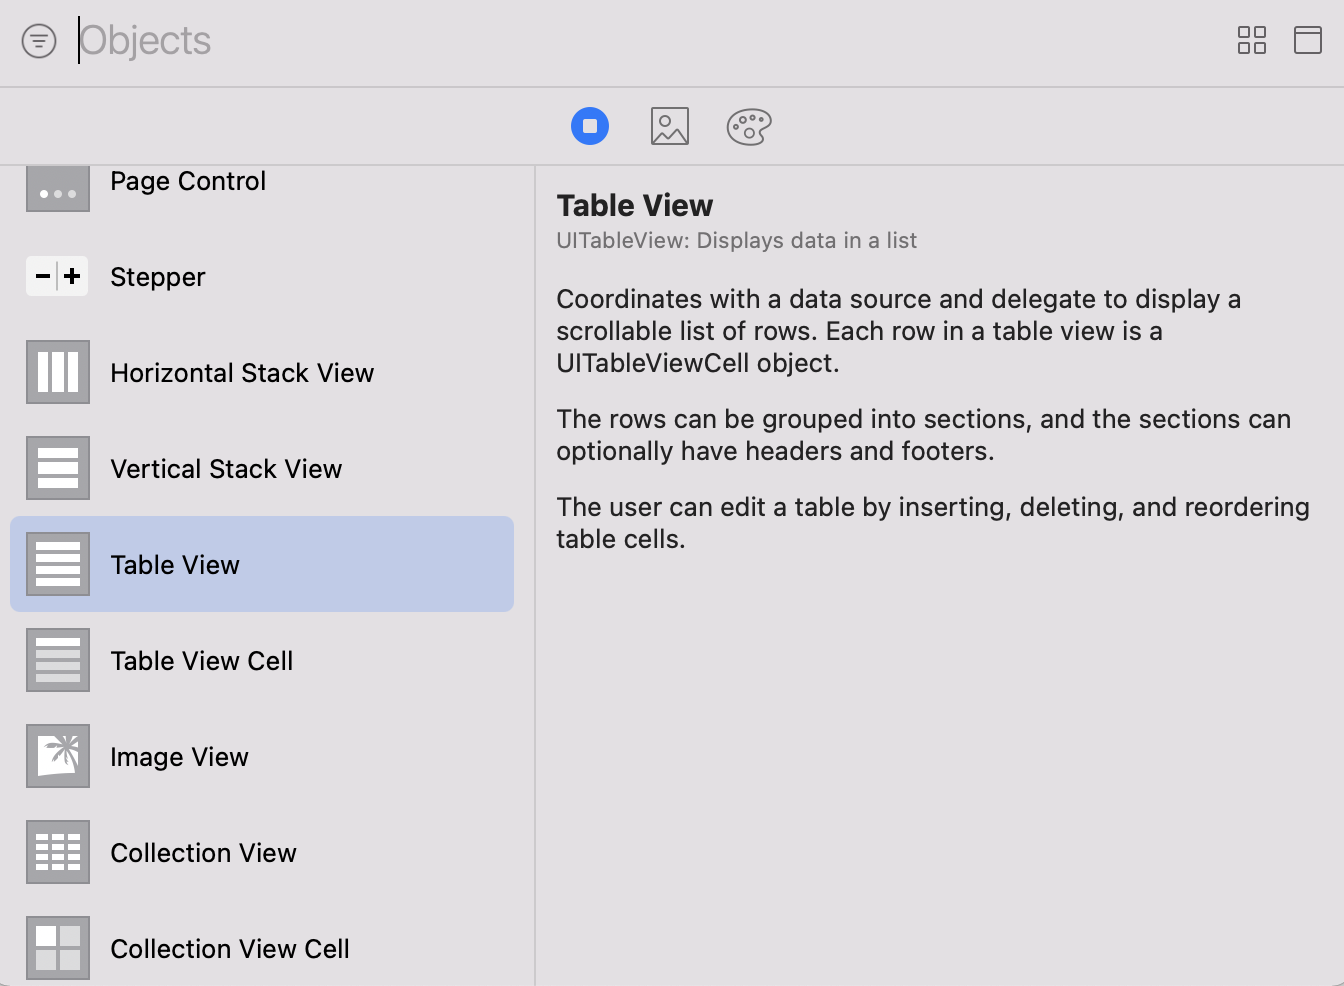
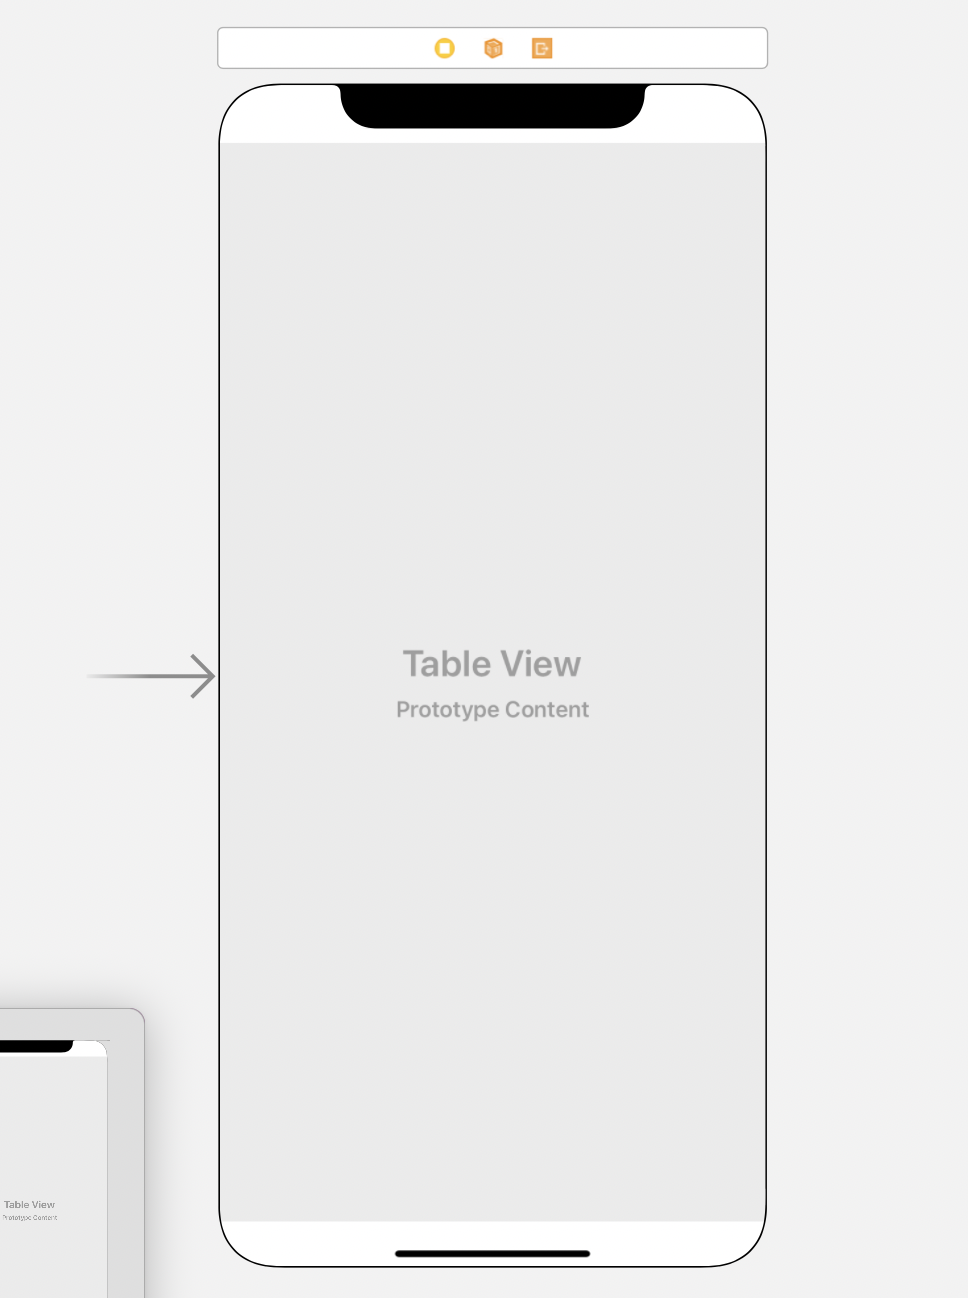
- 테이블 뷰 안에서 데이터는 cell로 표현된다.
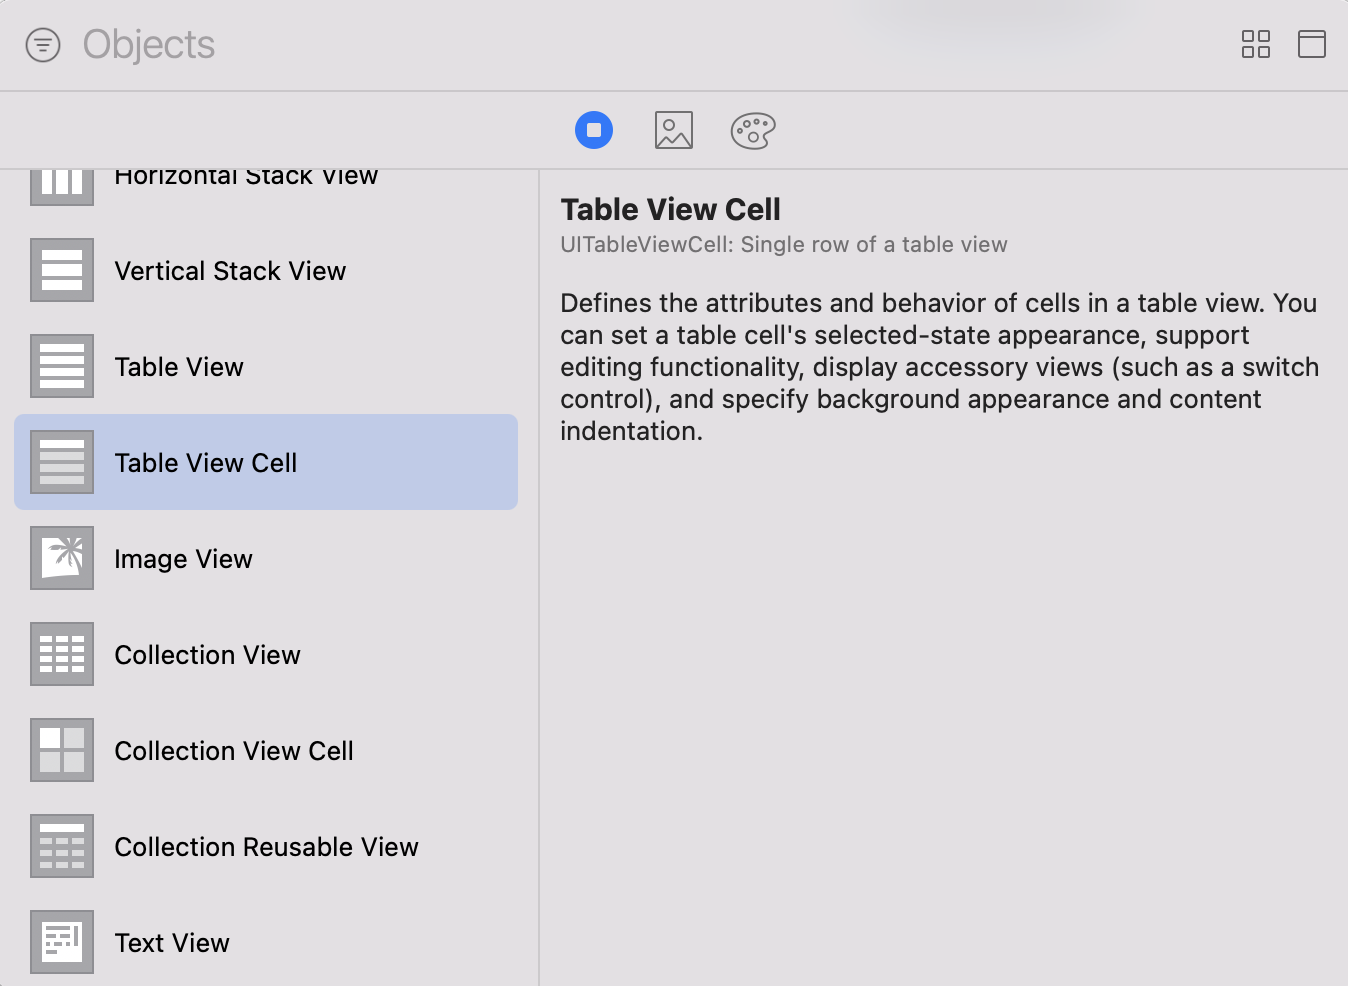
- 이번에는 Table View Cell을 넣어보자.

3 UITableViewDataSource (Protocol)
- UITableViewDataSource를 상속해서 셀을 몇개를 보여줄 것인지? 테이블 뷰를 어떻게 보여줄지? 정의해보자.
import UIKit

class BountyViewController: UIViewController, UITableViewDataSource, UITableViewDelegate {
    override func viewDidLoad() {
        super.viewDidLoad()
    }


    func tableView(_ tableView: UITableView, numberOfRowsInSection section: Int) -> Int {
        return 2
    }

    func tableView(_ tableView: UITableView, cellForRowAt indexPath: IndexPath) -> UITableViewCell {
        let cell = tableView.dequeueReusableCell(withIdentifier: "cell", for: indexPath)

        return cell
    }

}
- 첫번째 요구조건은 몇개의 셀을 내보낼 것 인지이다. 2개의 셀을 그린다고 해보자.
- 두번째 요구조건은 셀의 모습을 정의하는 부분이다. 셀을 하나 만들어서 반환한다.
- 화면에 셀을 그릴 때마다 직접 정의한 셀을 재활용 할 것이고 이 셀의 이름을(식별자) "cell"이라고 할 것이다.
- table view cell클릭 -> attribute inspector -> identifier항목에 cell을 적어준다.
- 추가로 accessory에 Checkmark를 표시해보자
4 UITableViewDelegate (Protocol)
- 이번에는 UITableViewDelegate를 상속해서 셀이 눌렸을 때 동작을 정의해 보자.
import UIKit

class BountyViewController: UIViewController, UITableViewDataSource, UITableViewDelegate {
    override func viewDidLoad() {
        super.viewDidLoad()
    }


    func tableView(_ tableView: UITableView, numberOfRowsInSection section: Int) -> Int {
        return 2
    }

    func tableView(_ tableView: UITableView, cellForRowAt indexPath: IndexPath) -> UITableViewCell {
        let cell = tableView.dequeueReusableCell(withIdentifier: "cell", for: indexPath)

        return cell
    }

    func tableView(_ tableView: UITableView, didSelectRowAt indexPath: IndexPath) {
        print("---->  \(indexPath.row)")
    }

}
- 간단하게 셀이 눌렸을 때 눌린 셀의 index를 콘솔화면에 출력해보자.
5 Table View와 View Controller 연결
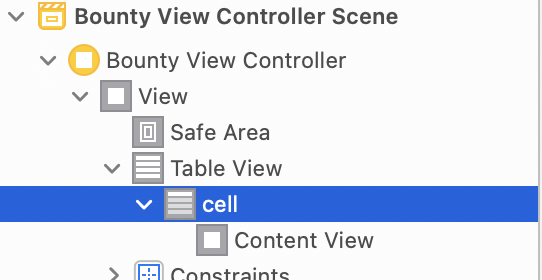

- 가장 먼저 table view cell의 이름을 cell이라고 바꿔주자. table view cell클릭 -> attribute inspector -> identifier항목에 cell을 적어준다.
- 코드를 다 작성했으면 작성된 코드와 Table View를 연결시켜주자
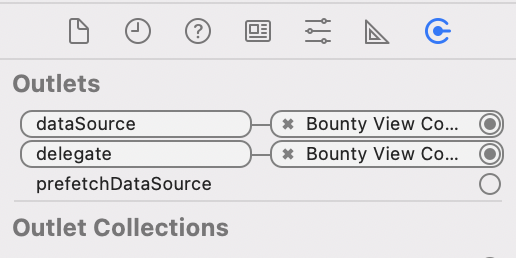
- Table View -> control을 누른채로 View Controller로 드래그 -> dataSource, delegate 체크

- table view의 outlet에 dataSource와 delegate가 Bounty View Controller와 연결된 것을 확인할 수 있다.
6 실행


'ComputerScience > ios App(Storyboard)' 카테고리의 다른 글
| ios - 14 Segue (0) | 2021.07.28 |
|---|---|
| ios - 13 Custom Cell (0) | 2021.07.28 |
| ios - 11 swift 기본문법(Class) (0) | 2021.07.25 |
| ios - 10 swift 기본문법(Structure) (0) | 2021.07.22 |
| ios - 9 swift 기본문법 (Closure) (0) | 2021.07.21 |


